Add and edit every DNS record type NameBright supports, change your nameservers, set up subdomains and URL forwarding, and turn on DNSSEC.
Add, Edit, and Delete a TXT Record for DKIM or DMARC
GUIDE-7.11 · 1 min · Updated September 2026
DKIM and DMARC are separate TXT records from SPF, each with its own host and value format. Both help mail servers trust that email claiming to be from your domain actually is.
To add a DKIM or DMARC record:
Log in to your NameBright account.
Go to Domain Manager and select a domain.
Under the DNS section, select Manage DNS Records .
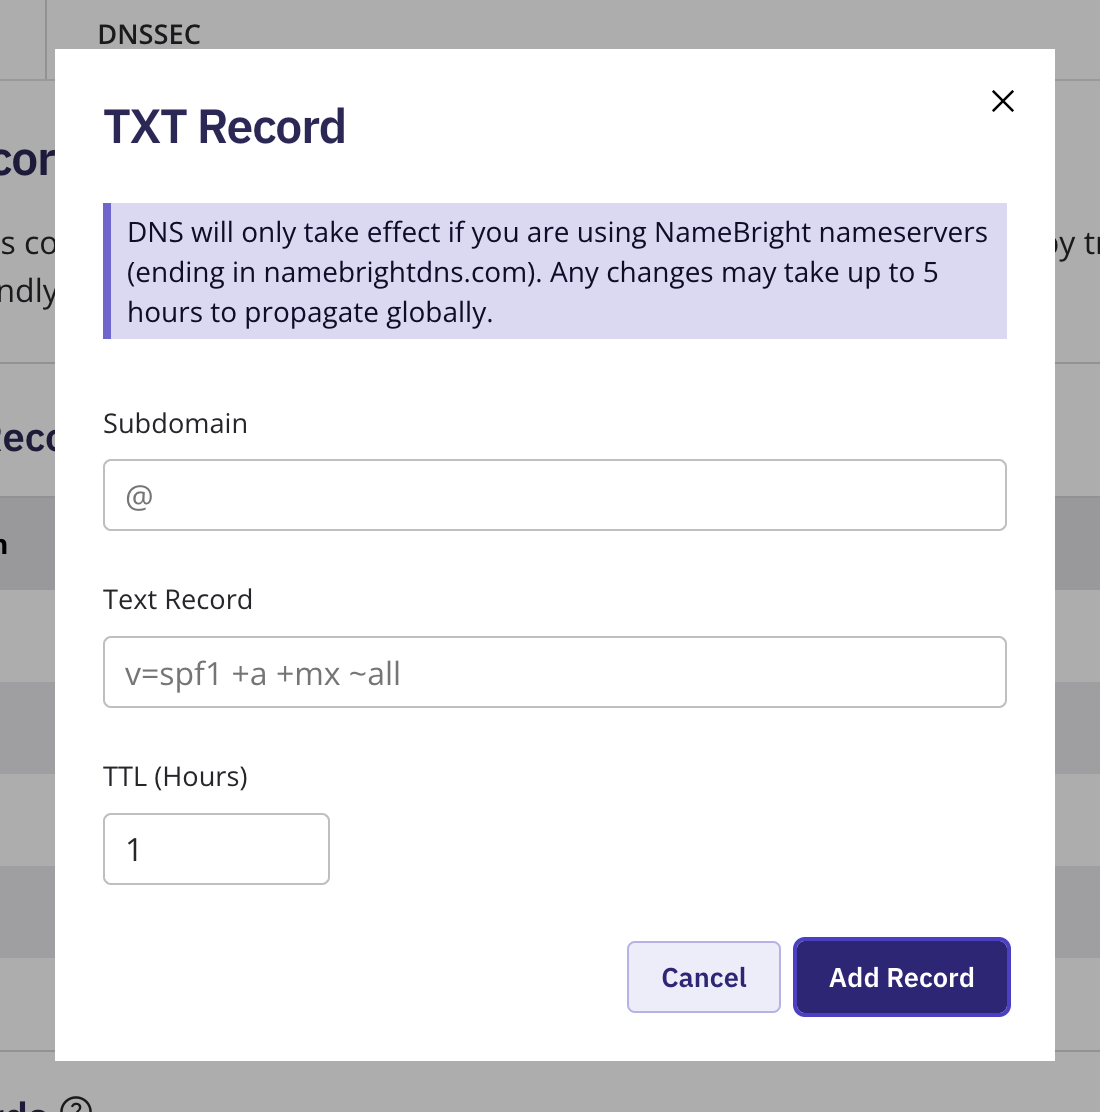
Select Add New DNS Record , choose TXT , and select Continue .
For DKIM, enter the Hostname your mail provider specifies (usually formatted like [selector]._domainkey ) and the value your provider gives you. For DMARC, enter the Hostname as _dmarc and a value in DMARC format, for example: v=DMARC1; p=none; rua=mailto:you@yourdomain.com .
Set the TTL and select Add Record . Add DKIM and DMARC as two separate records.
To edit a record, select it, select Edit , update the value, and select Update Record . To delete it, select the record, select Delete , and confirm.
Update DNS Records in Bulk
To manage DNS records on multiple domains at once, go to Domain Manager , switch to Advanced view, and select the domains you want to edit. Once at least one is selected, the bulk action buttons above the domain table become active. Select the DNS bulk action button, then edit the setting the same way you would for a single domain. Save your changes. NameBright applies the update to every domain you selected.
Update DNS Records on a Category
To manage DNS records for every domain in a category at once, go to My Categories , select the category, open Category Settings , and enable DNS Records there, then edit the setting the same way you would for a single domain. Save your changes.